
Events round up
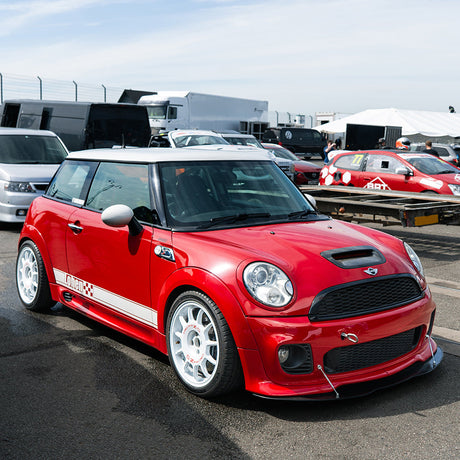
Lohen Events Round Up – Donington Park & Himley Hall Lohen MINI Only Track Evening – Donington Park – 6th May Our latest Lohen MINI only track evening at Donington...
Lohen Events Round Up – Donington Park & Himley Hall Lohen MINI Only Track Evening – Donington Park – 6th May Our latest Lohen MINI only track evening at Donington...

Join Lohen and MSV for an exclusive MINI only open pit lane evening at Donington Park. Enjoy MINI only track time, passenger laps in Lohen demo cars and expert guidance...

A guide to roll cage selection and installation
Unsure how often to service your MINI? Our MINI Service Guide breaks it down Gen 1 R50 Cooper, R53, a Gen 2 , this guide explains what needs doing and when...
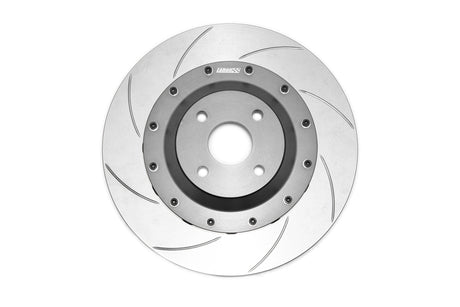
New brake pads or discs on your MINI? Don’t risk uneven wear or reduced stopping power. Proper brake bedding-in is essential for getting the best performance, longevity, and feel from...
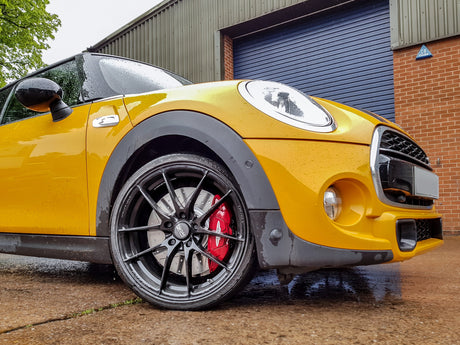
Unsure what an offset or PCD is? Our MINI Wheel Buyer’s Guide is for you.We’ll walk you through all the key terms and sizing info you need to know before...
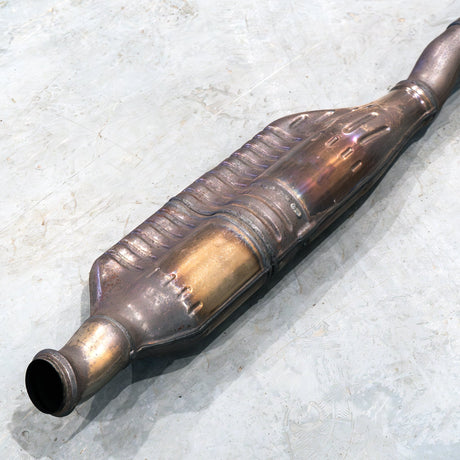
The GPF although good at what it does in terms of reducing emissions, creates back pressure that compromises the performance and sound quality of the exhaust. Far from ideal for...
Lowering your car with lowering springs and dampers is an affordable way of improving the look of your MINI and it'll unlock multiple handling benefits to give a responsive and...
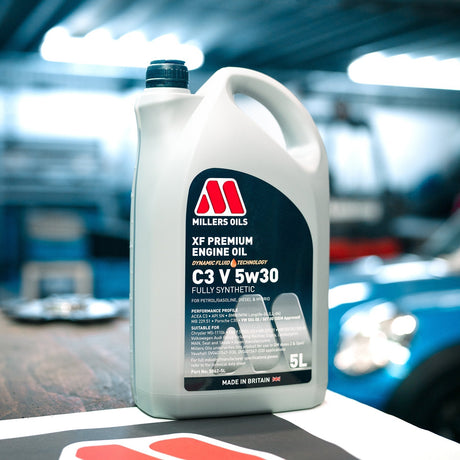
If you're driving your MINI with extra enthusiasm you'll need to change your oil more frequently than MINI suggests. Accelerating hard is going to cause greater wear on your engine...
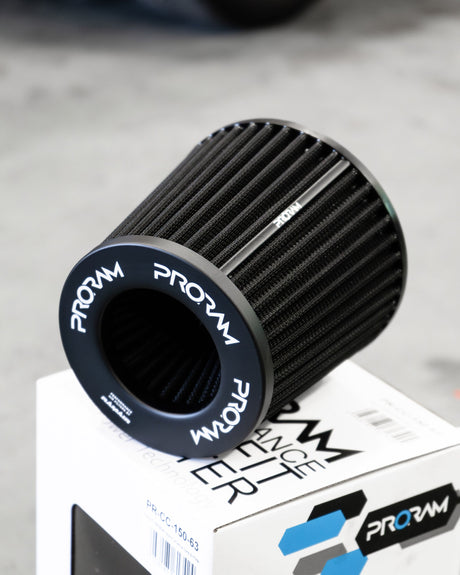
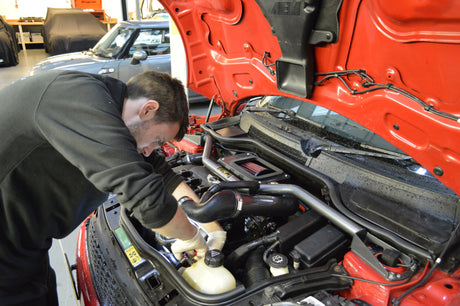
One of the first things many MINI enthusiasts look to upgrade when starting their MINI modification journey is the air intake. We're going to answer some of the most common...
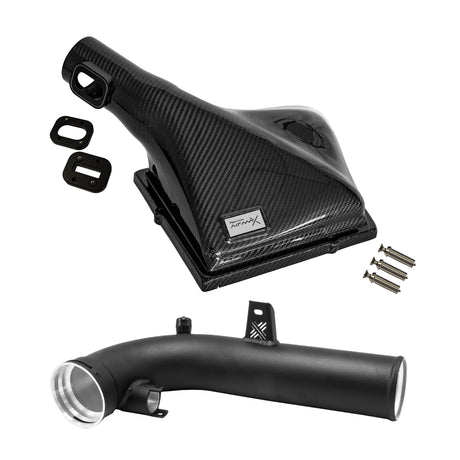
After extensive product testing Pipercross have released their cold air intake kit for the MINI F56. The premium air intake filter increases airflow by up to 85.37% when compared to...

We all spend plenty of time building and fixing our MINIs over winter and by the time March rolls around we've almost forgotten what it is to floor that throttle...
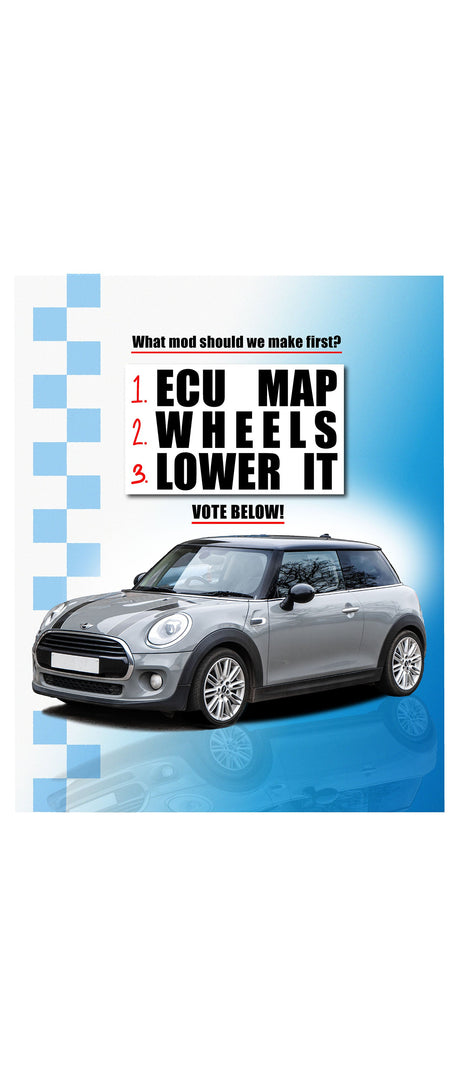
The Start of Something Fast: Tuning a MINI F56 Cooper 1.5L with Lohen Every great build starts with a vision—and a little excitement. We’re kicking off a brand-new tuning journey...